Sonar Ping Project
Introduction
Another day another Arduino project! Today I’m building a simple proximity sensor using the breadboard and Sonar module which came with the Arduino project starter box. This was a nice easy project and as I progress through each one feel myself slowly getting more and more familiar with both the Arduino and electronics in general (I’m certainly blowing less diodes than I used to!)
Project overview
As standard fare, using the sonar sensor and plugging it into a LED or buzzer to create what is essentially a parking sensor on a car! This project usually features very early in any Arduino project book I could find. That being said, lets get into the meat and potatoes of her…
Schematic
Pretty simple, no surprises here!

I didn’t know if using the buzzer required a resistor or not. I did put a 220 Ohm in there just for… well trying to protect the Arduino from the full DC current.
The code
Basically it’s a simple “if the object is closer than 30cm, light up the LED” and “if it’s closer than 5cm, light up the LED & sound the buzzer”.
#include <NewPing.h>

#define TRIG_PIN 8
#define ECHO_PIN 9
#define MAX_DIST 150
NewPing sonar(TRIG_PIN, ECHO_PIN, MAX_DIST);

const int ledPin = 10;
const int buzzerPin = 11;

void setup() {
  // put your setup code here, to run once:
  // Serial.begin(9600);
  pinMode(ledPin,OUTPUT);
  pinMode(buzzerPin,OUTPUT);
}

void loop() {
  // put your main code here, to run repeatedly:
  int cm = sonar.ping_cm();
  // Serial.print("Distance = (cm) = ");
  // Serial.println(cm);
  // Light if distance < 30cm
  if (cm <= 30 && cm != 0) {
    digitalWrite(ledPin,HIGH);
  }  else {
    digitalWrite(ledPin,LOW);
  }

  // buzzer if distance < 5cm
  if (cm <= 5 && cm != 0) {
    digitalWrite(buzzerPin,HIGH);
  } else {
    digitalWrite(buzzerPin,LOW);
  }

  delay(100);
}
Source is available on github along with all my other Arduino code as per usual.
As you can see, I use the ‘Serial’ class (or object, depending which side of the instantiation you stand) to get the raw values while I test, then once I’m happy just comment it out.
Also strangely, sometimes if the range is infinite (i.e. the sensor cannot see anything) it returns 0cm as the distance… This may prove tricky to work around in future…
The build
So we have done a schematic and written some very rough code… Now my favorite bit!
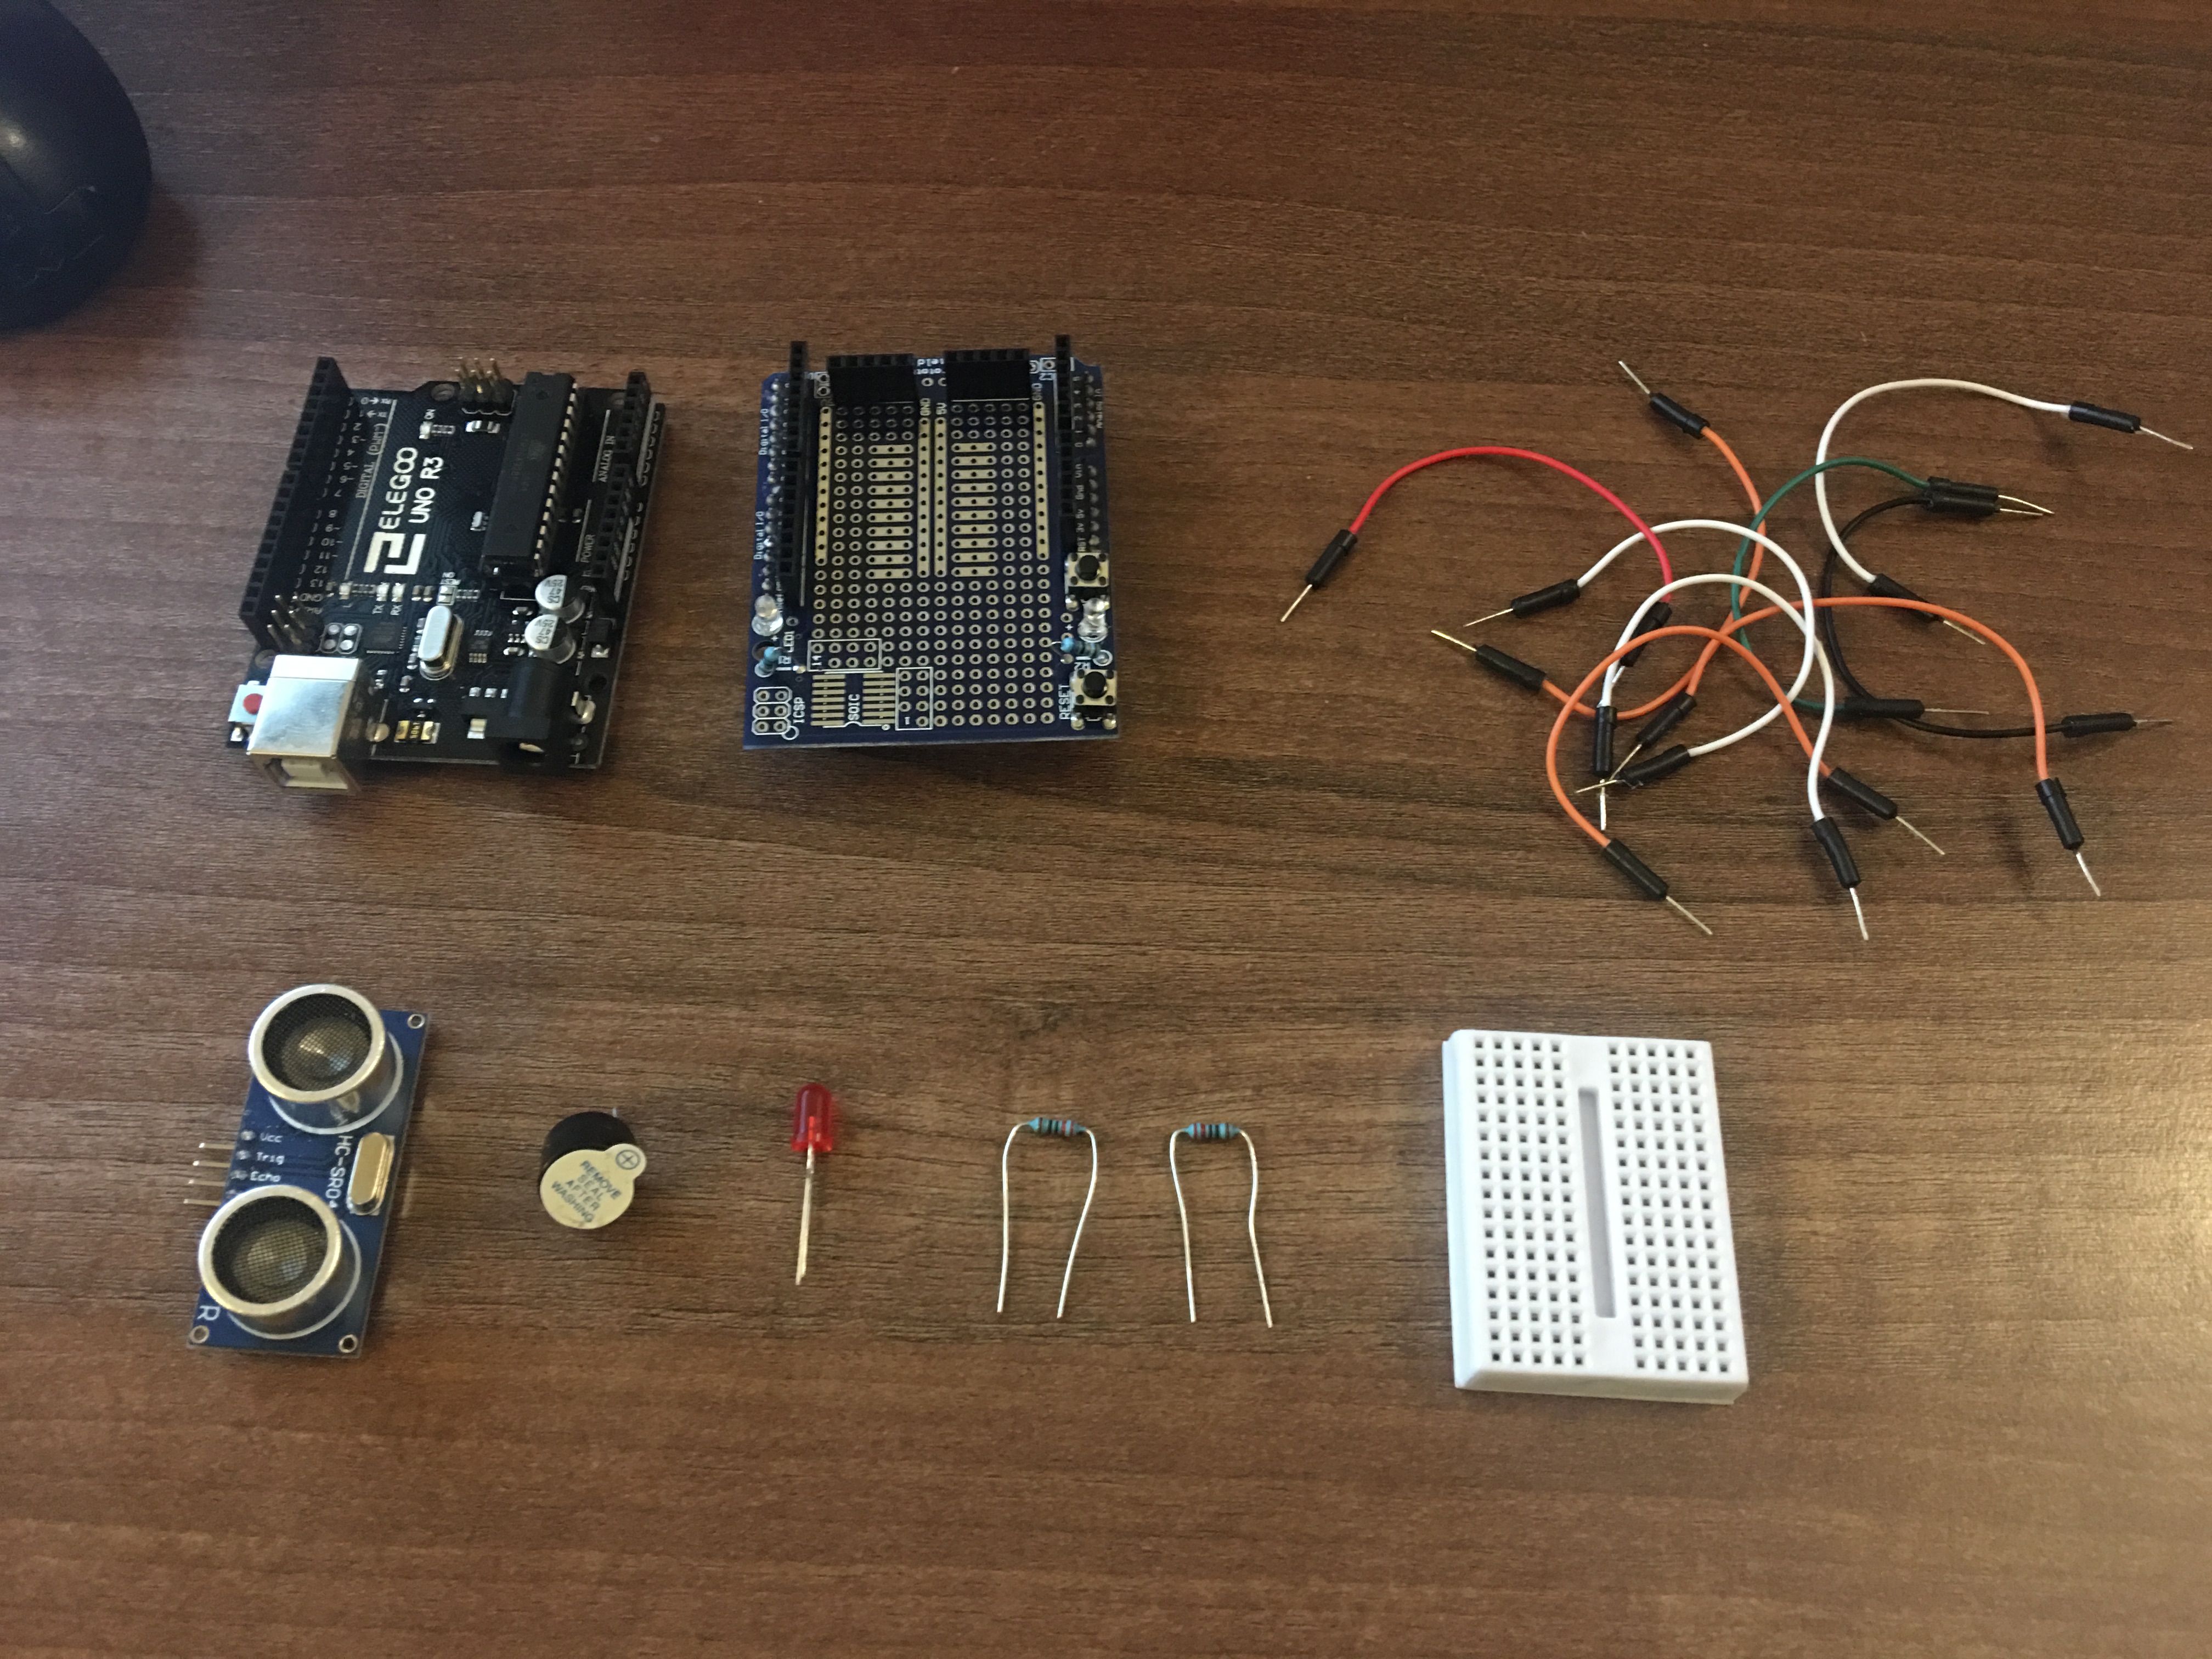
1 Gather your components
When I used to work in construction, this was called the “Bill of Materials” (BOM). I doubt it’s different in the electrical world (if it is, please tell me!)
You will need:
- 1 No. Arduino UNO
- 1 No. prototyping shield (optional)
- 1 No. Active buzzer
- 1 No. Red LED
- 1 No. ‘HC-SR04’ Active Sonar board
- 2 No. 220 Ohm resistors
- 1 No. small breadboard
- 10 No. small jumper cables
And here is the BOM collected up from the starter kit…
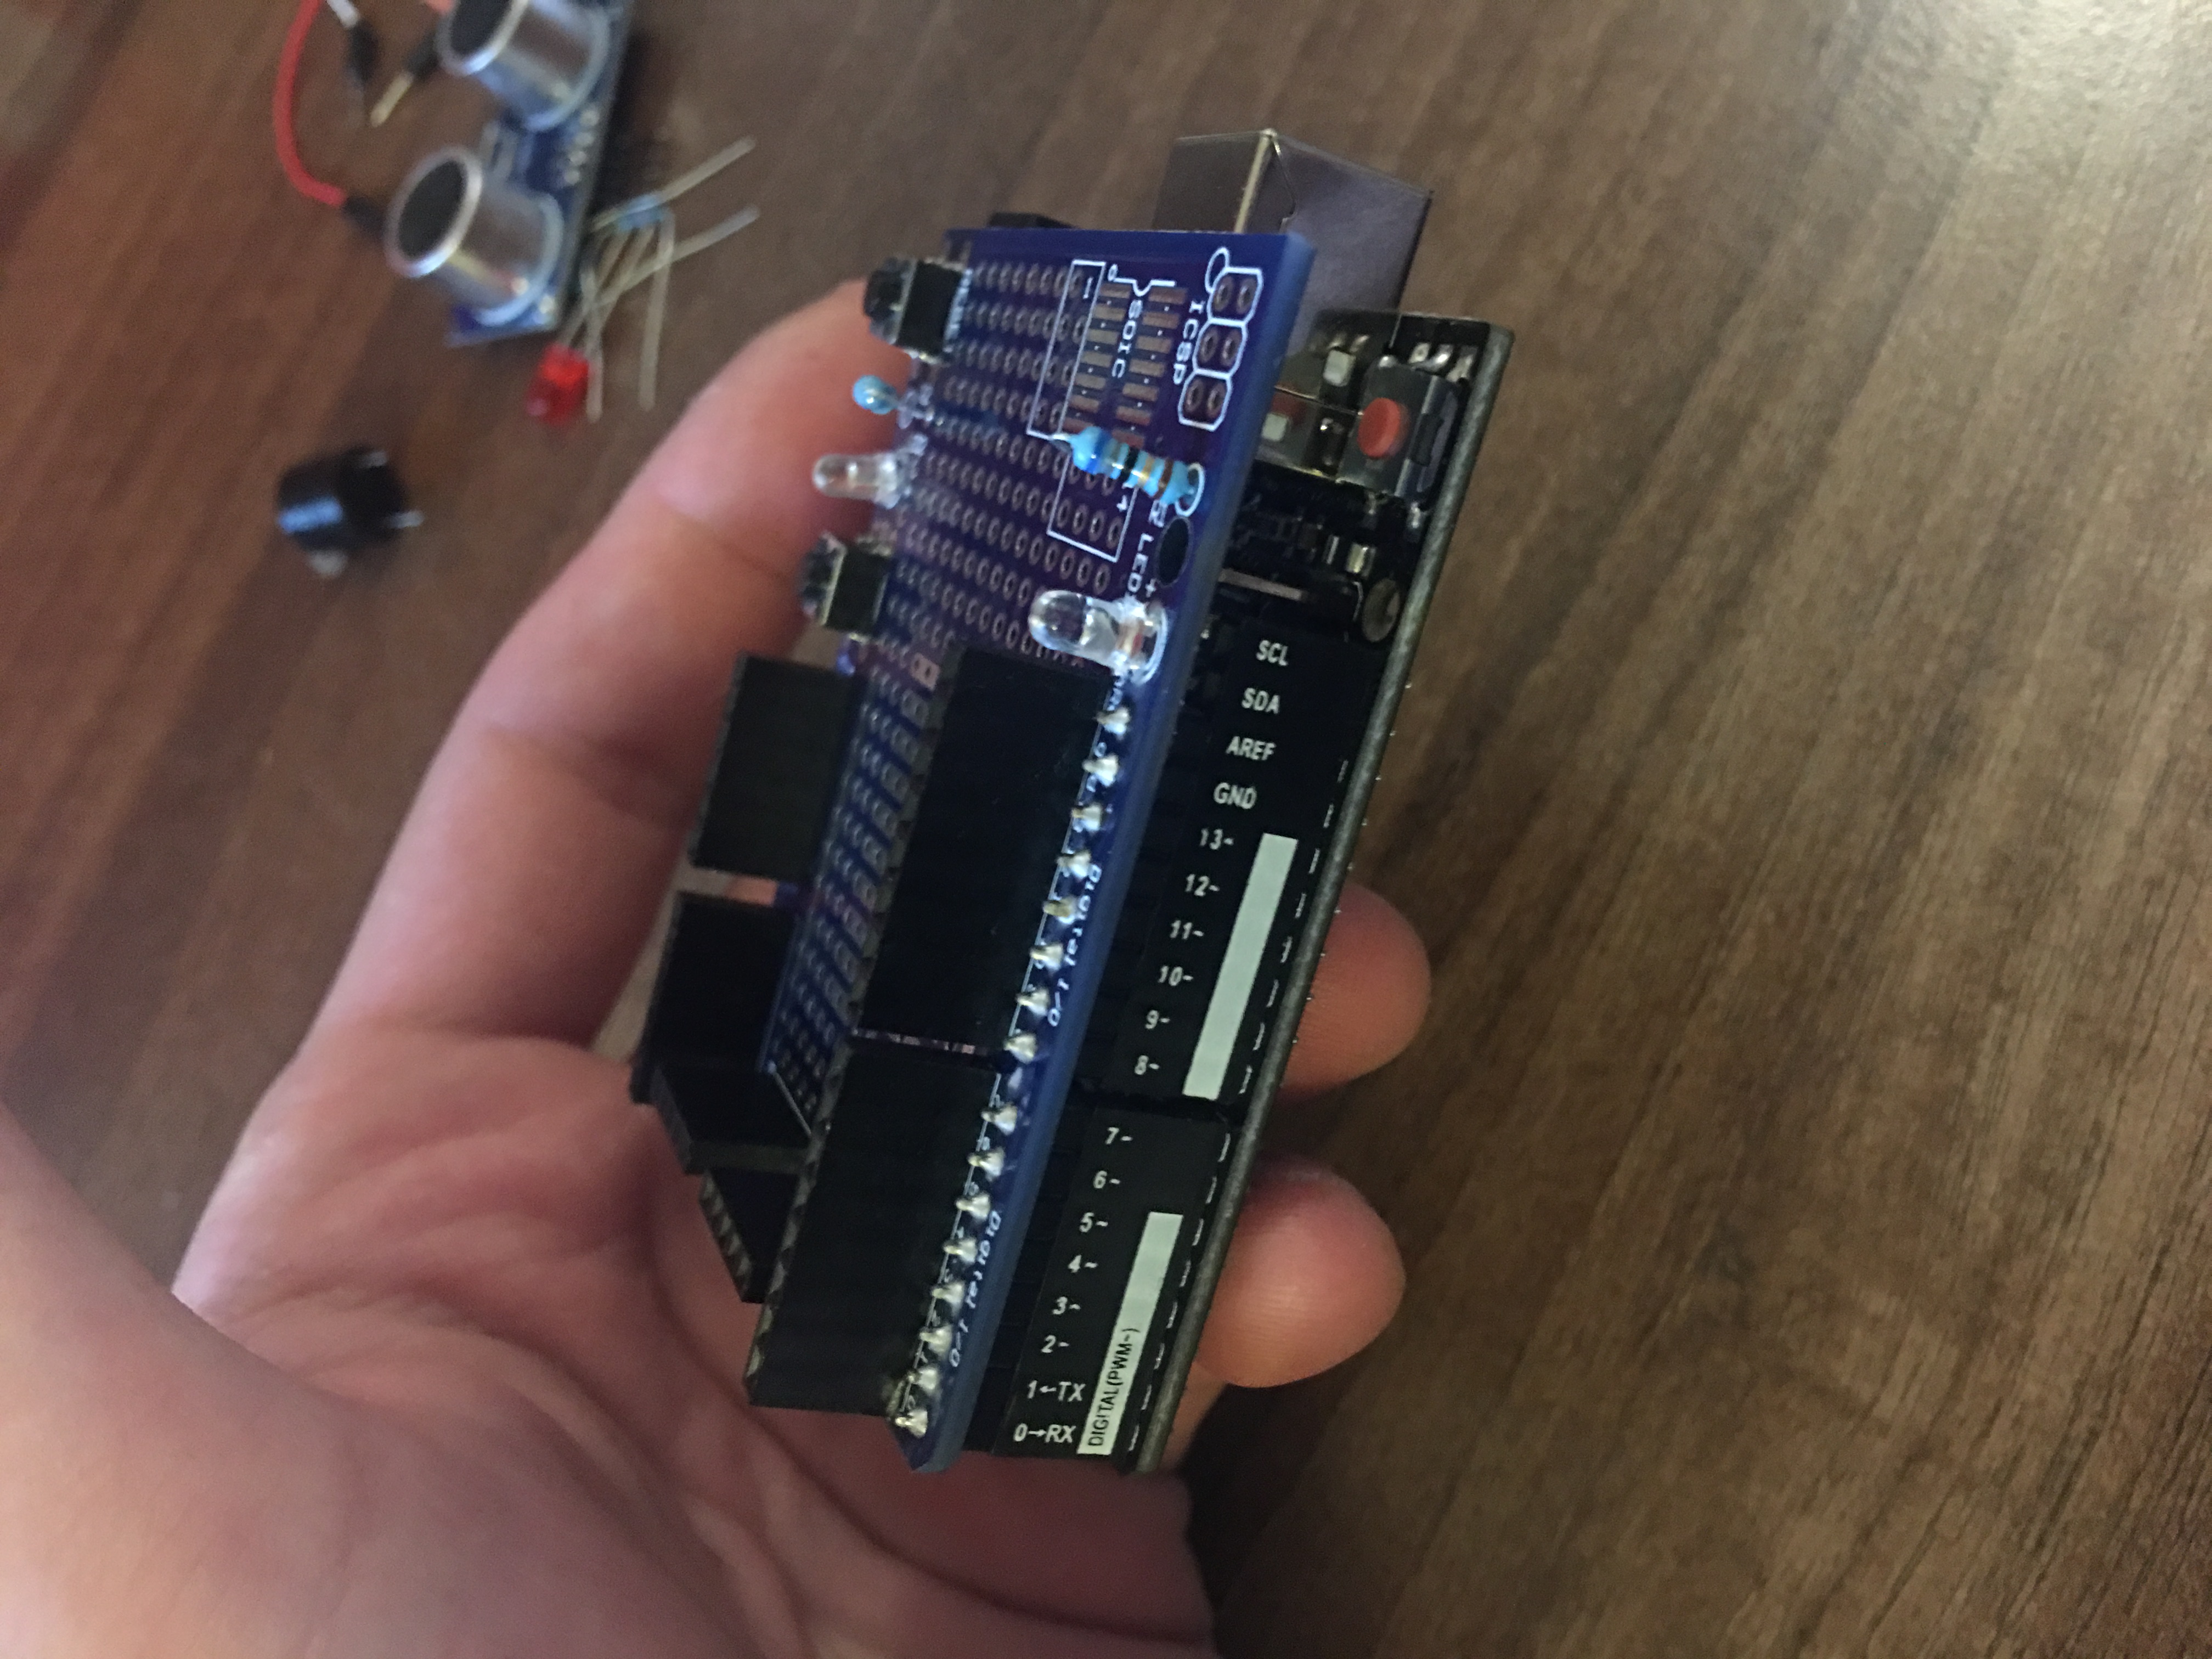
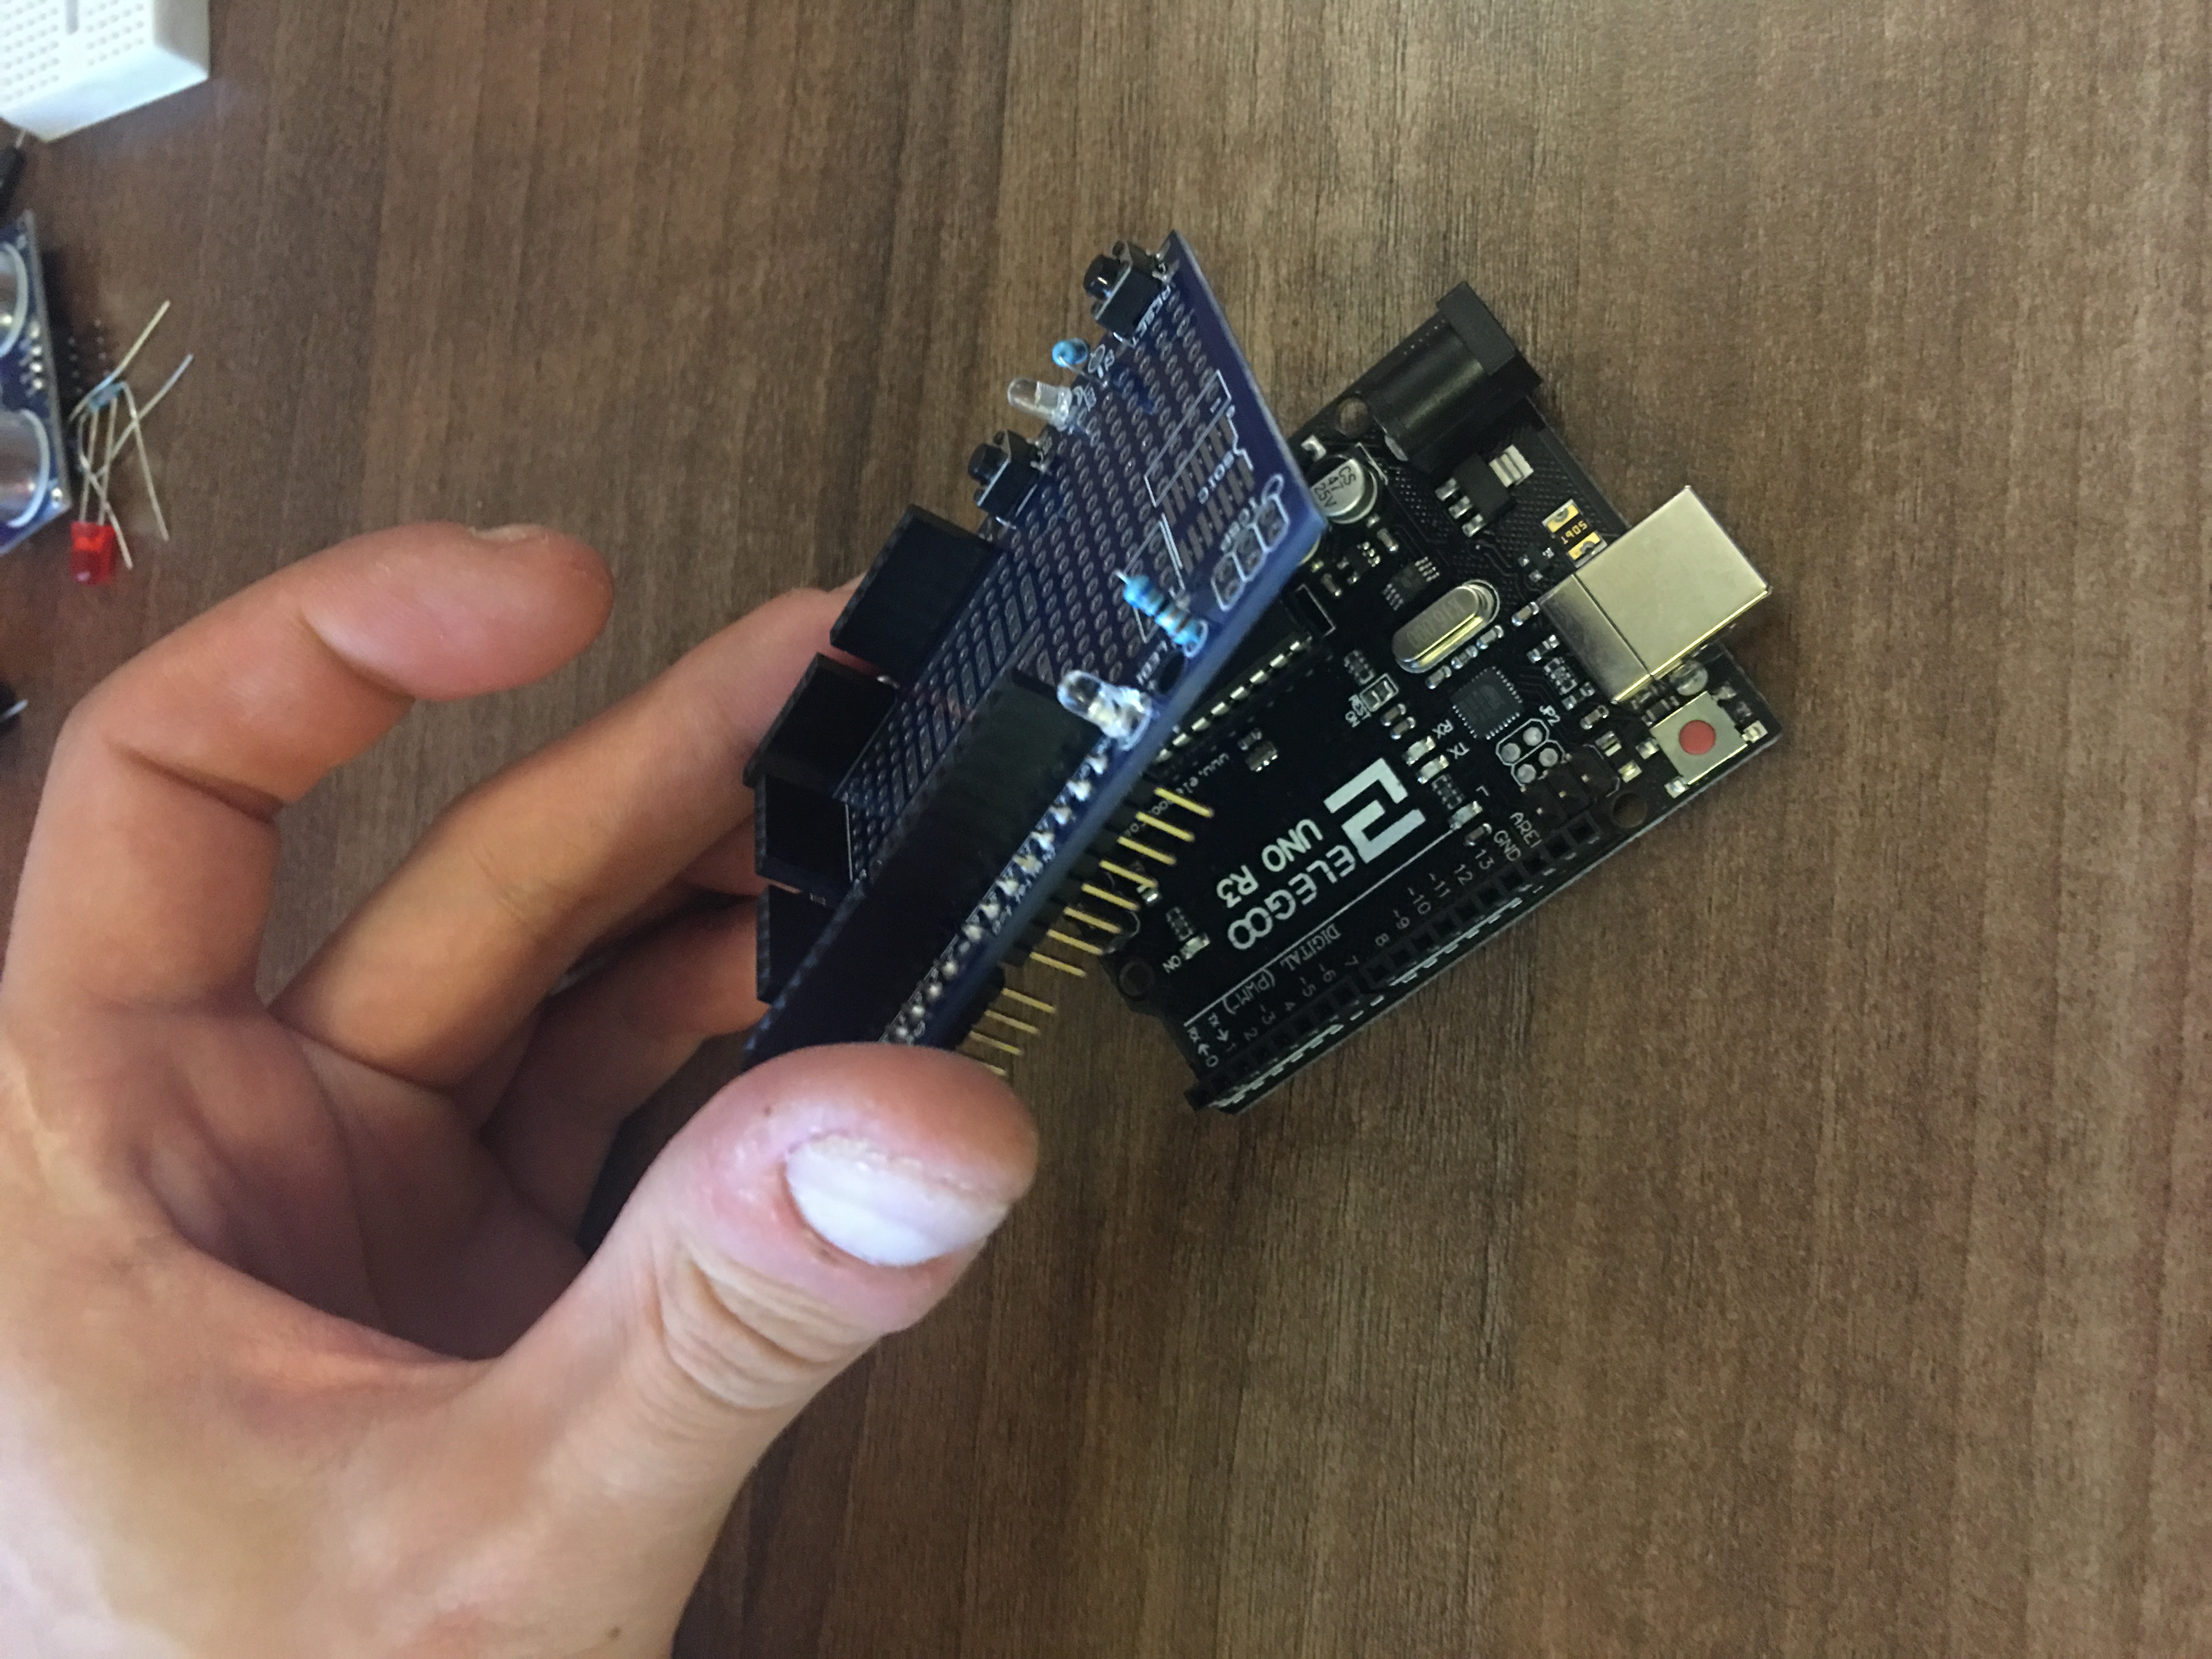
2 Assemble prototyping shield onto Arduino
This is simply putting the Shield onto the Arduino…
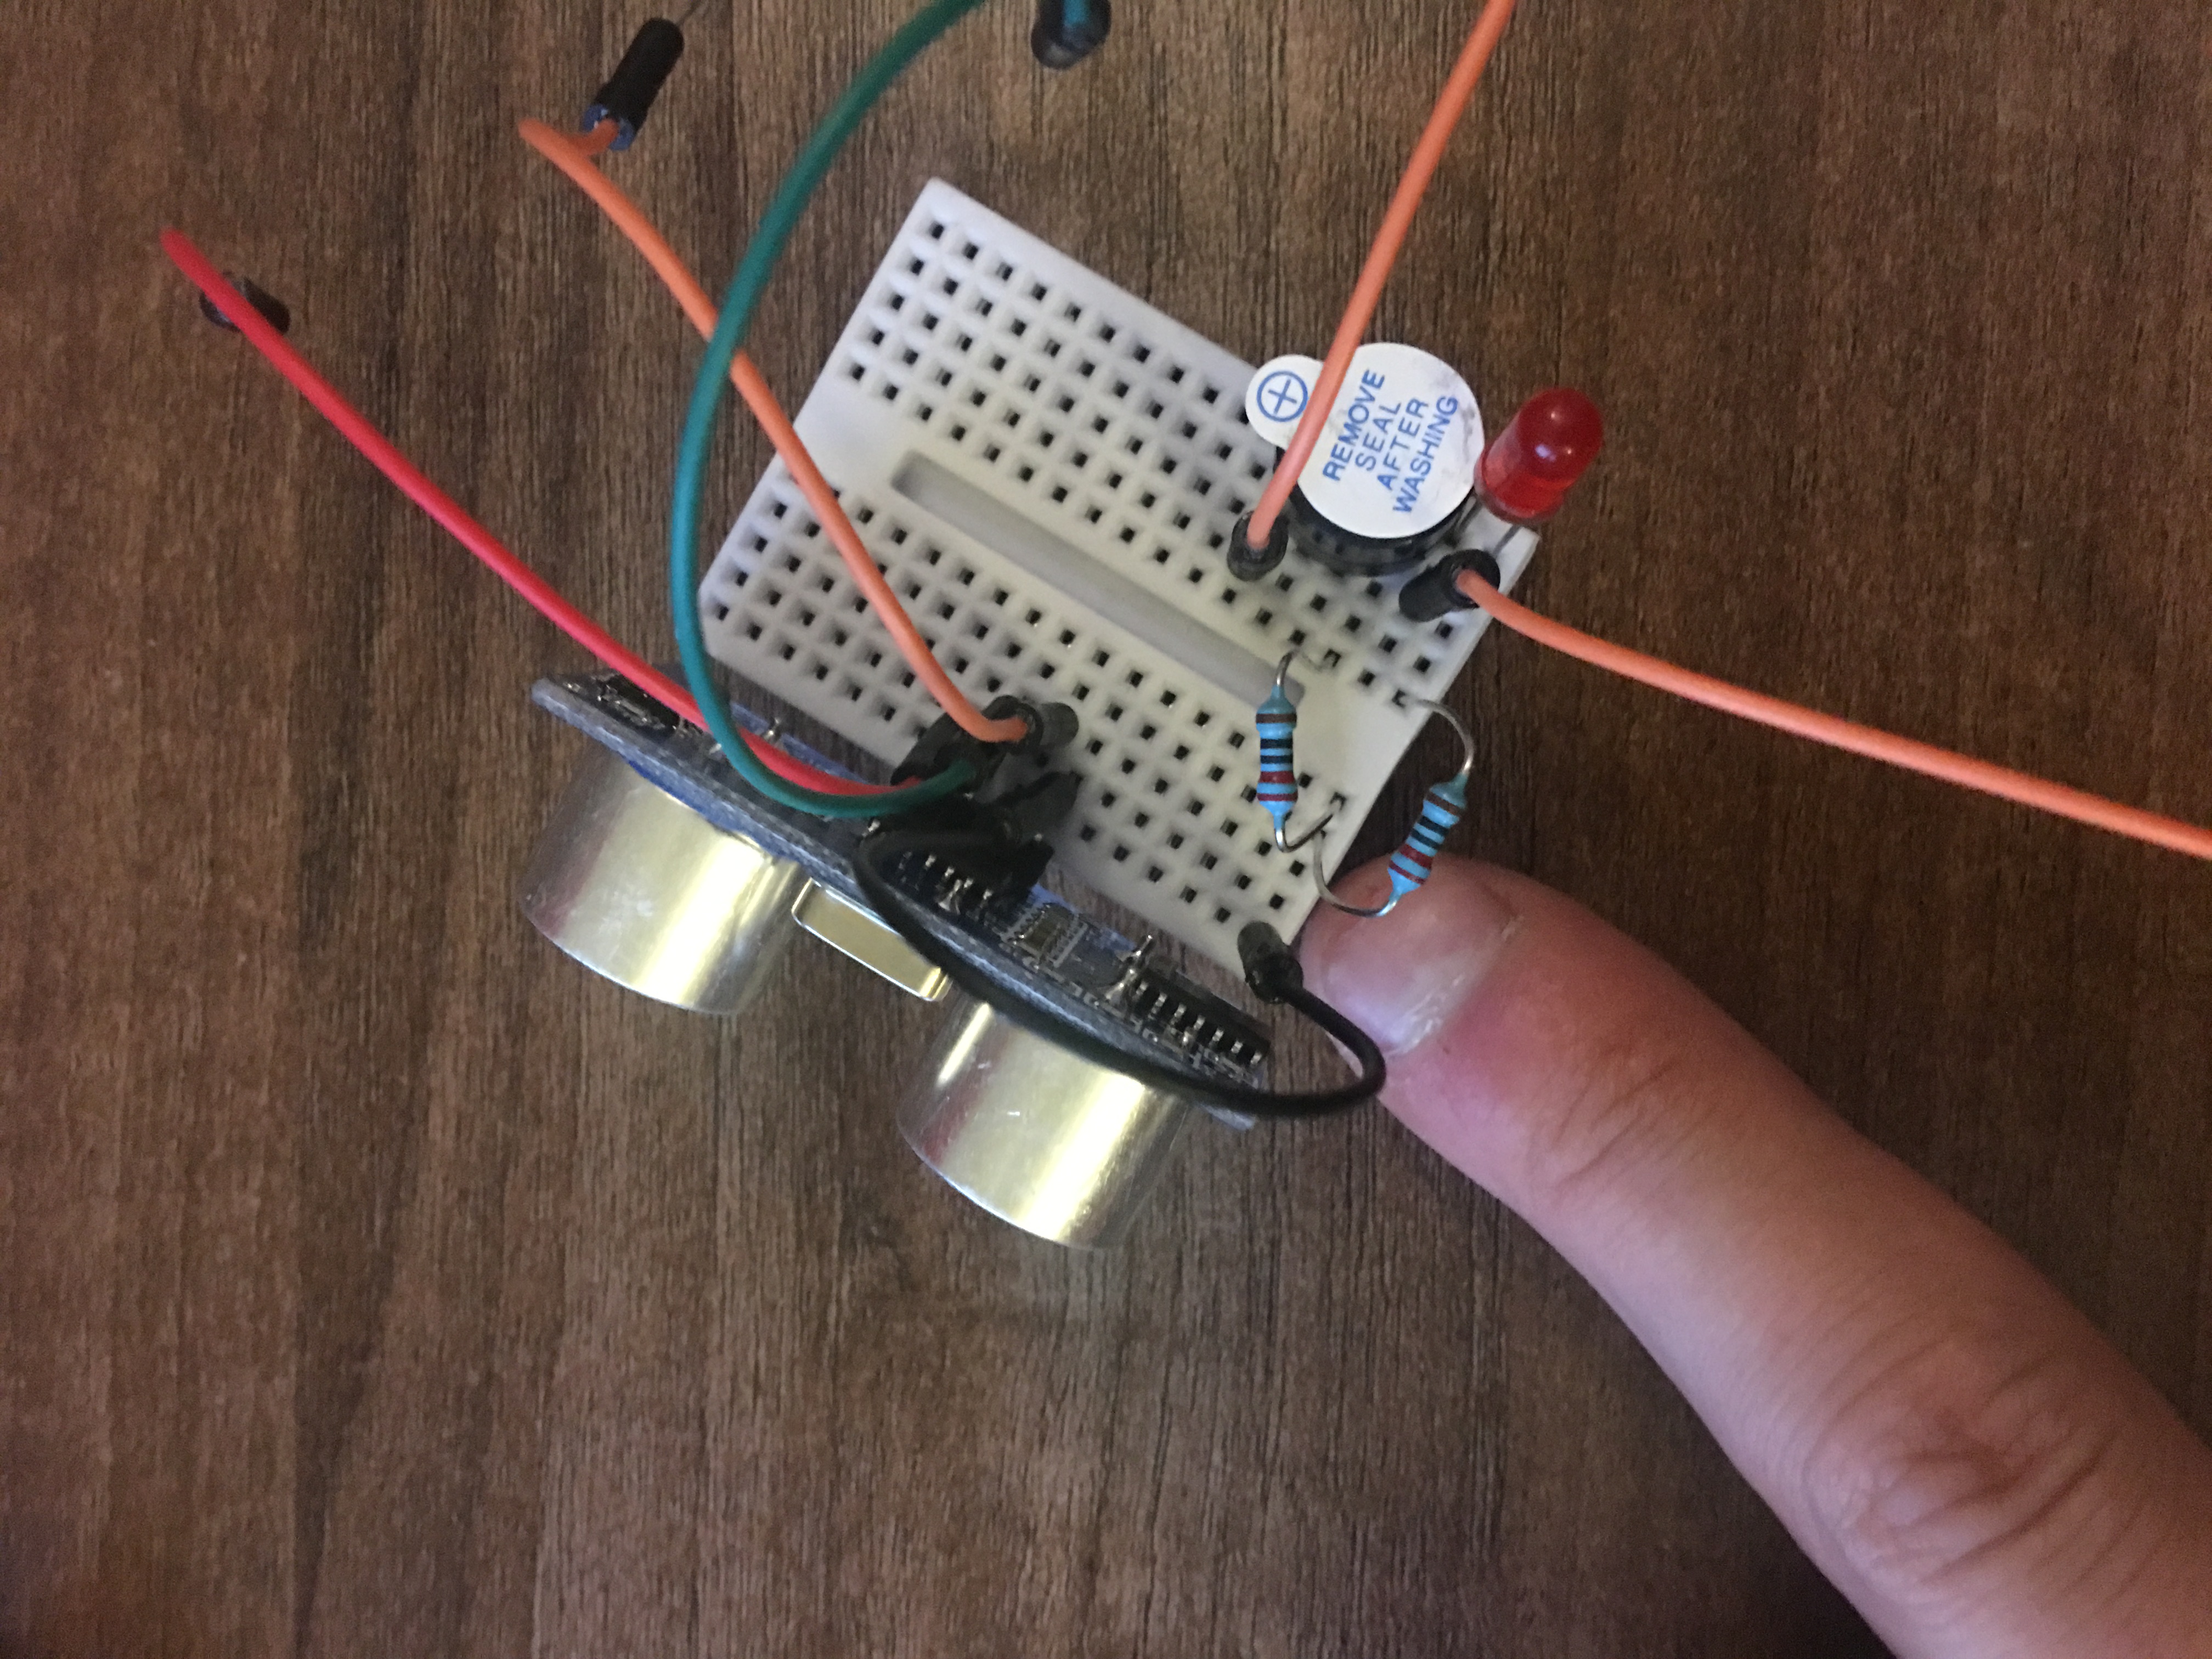
3 Setting up the breadboard
During this step I like to keep the board off the Arduino, this way it just gives
me more room to work…
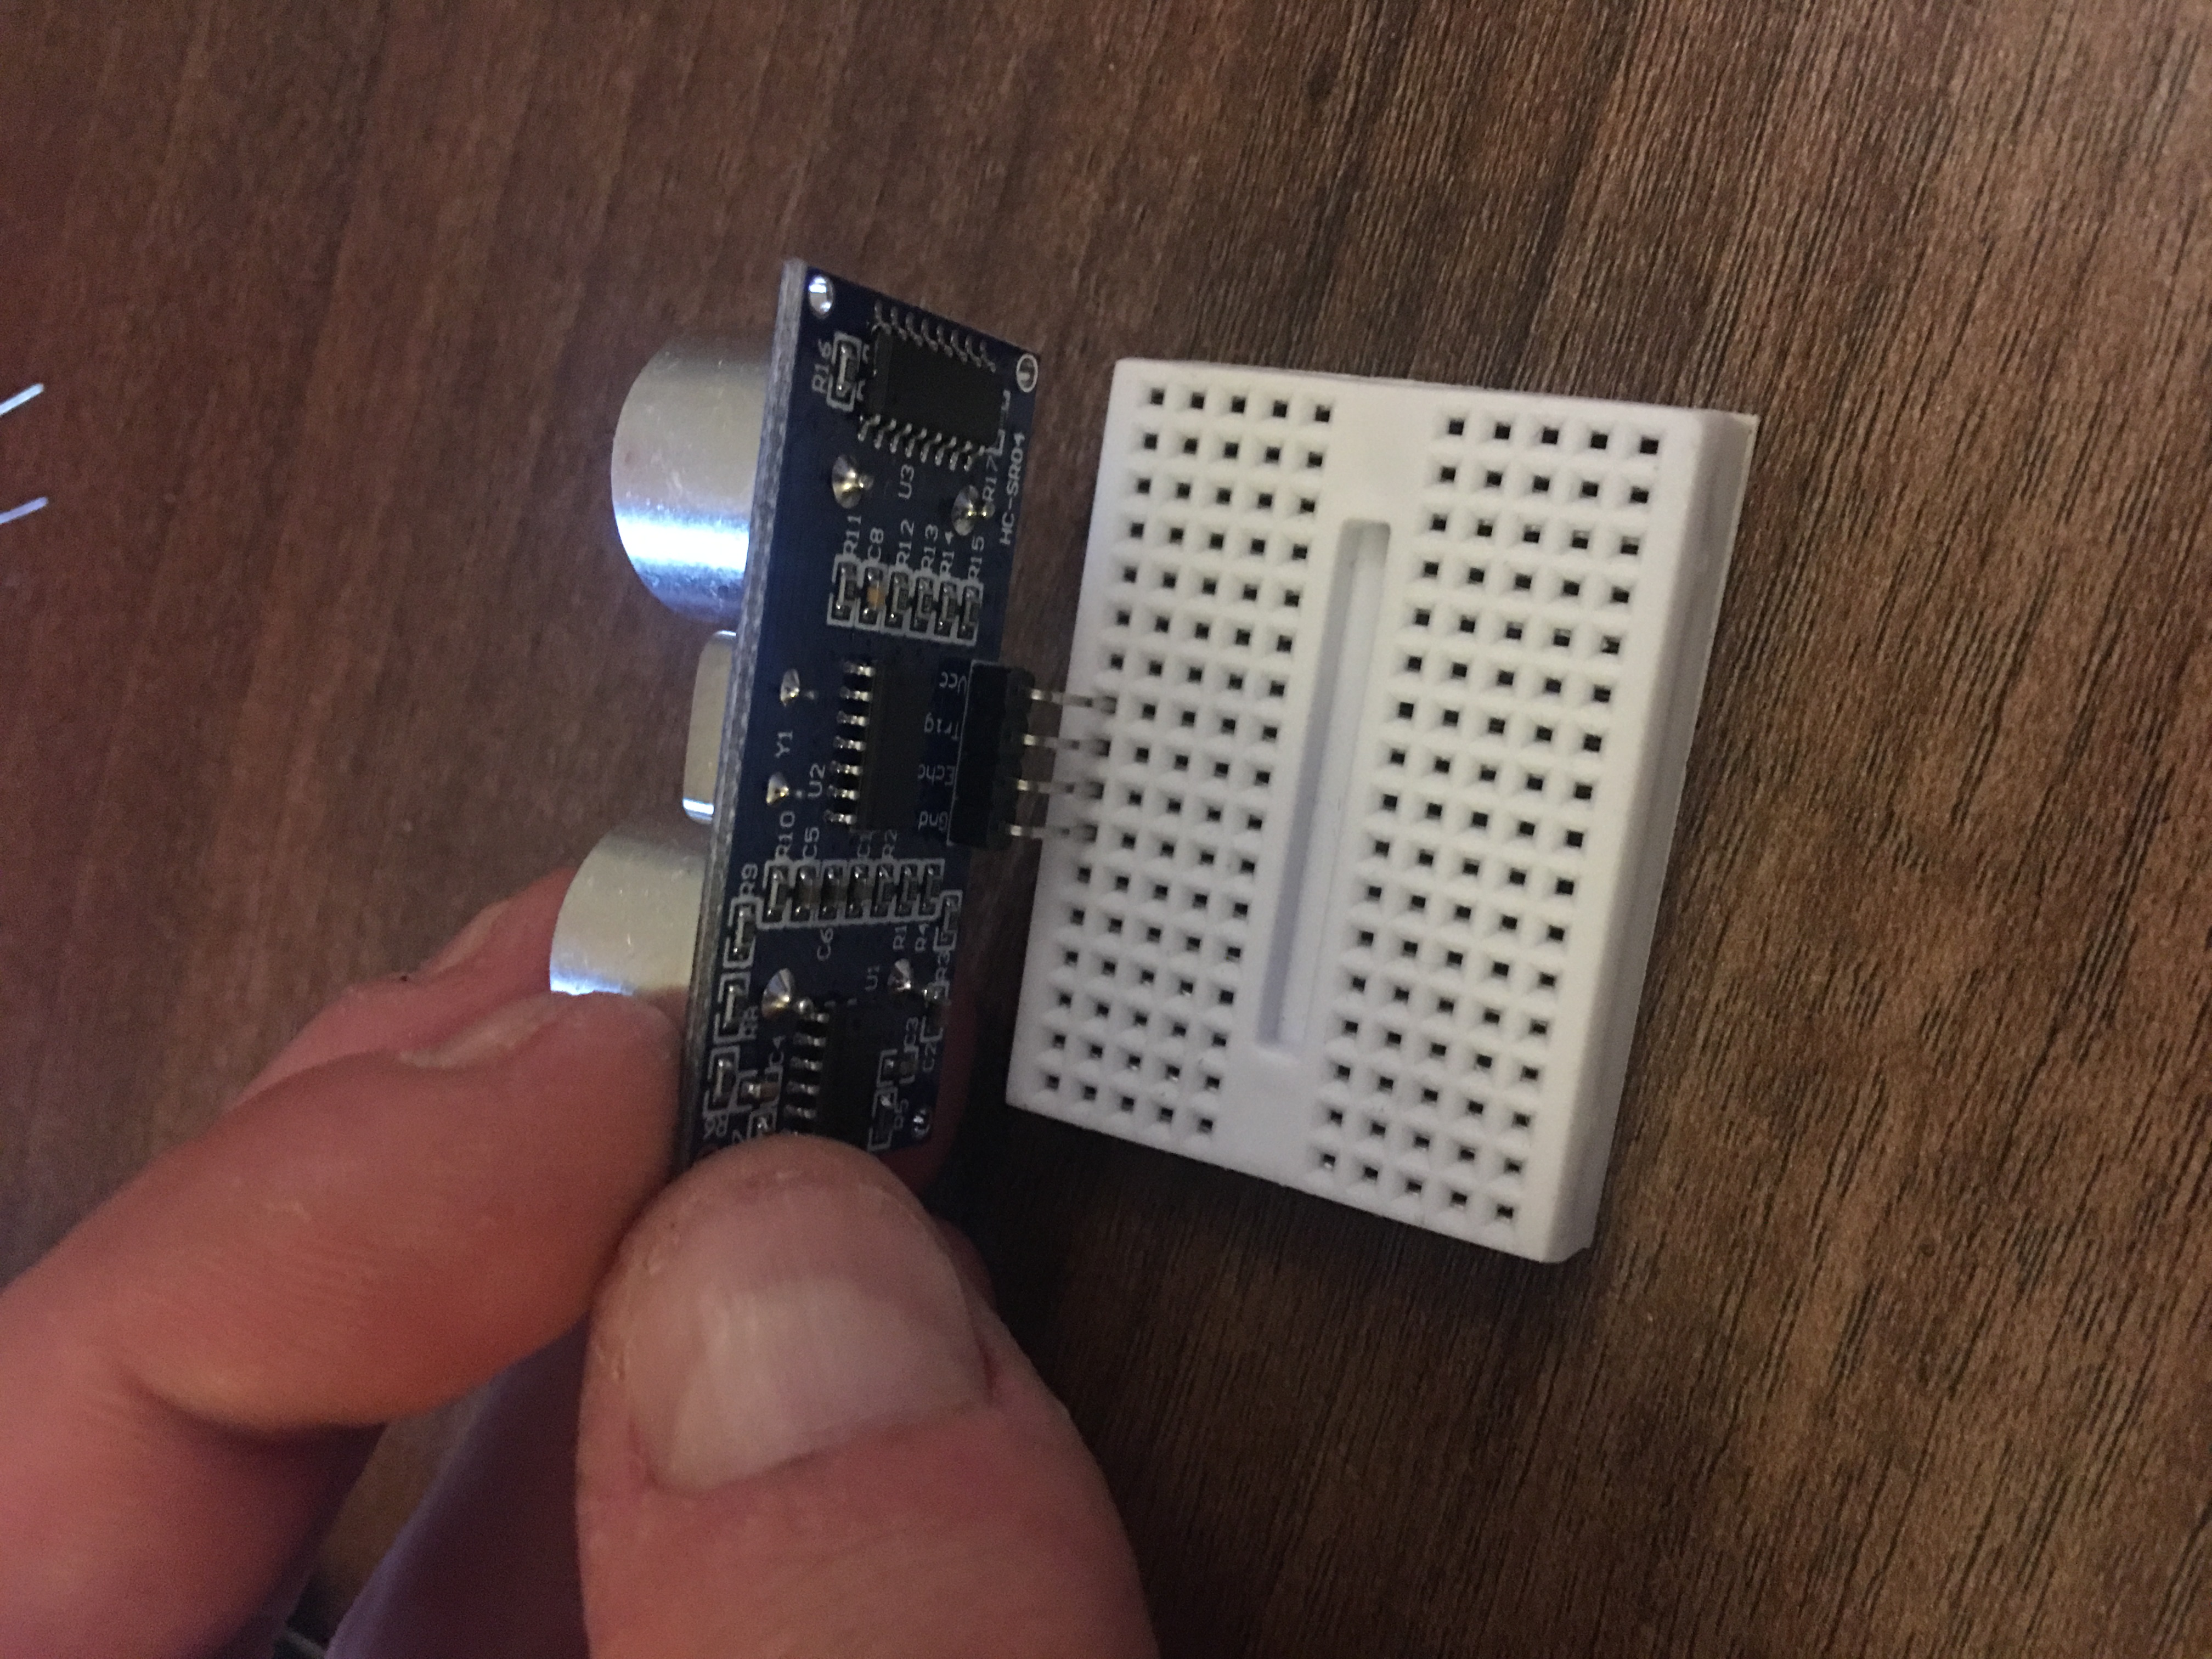
Notice the common ground rail by my finger…
4 Connecting up to Arduino
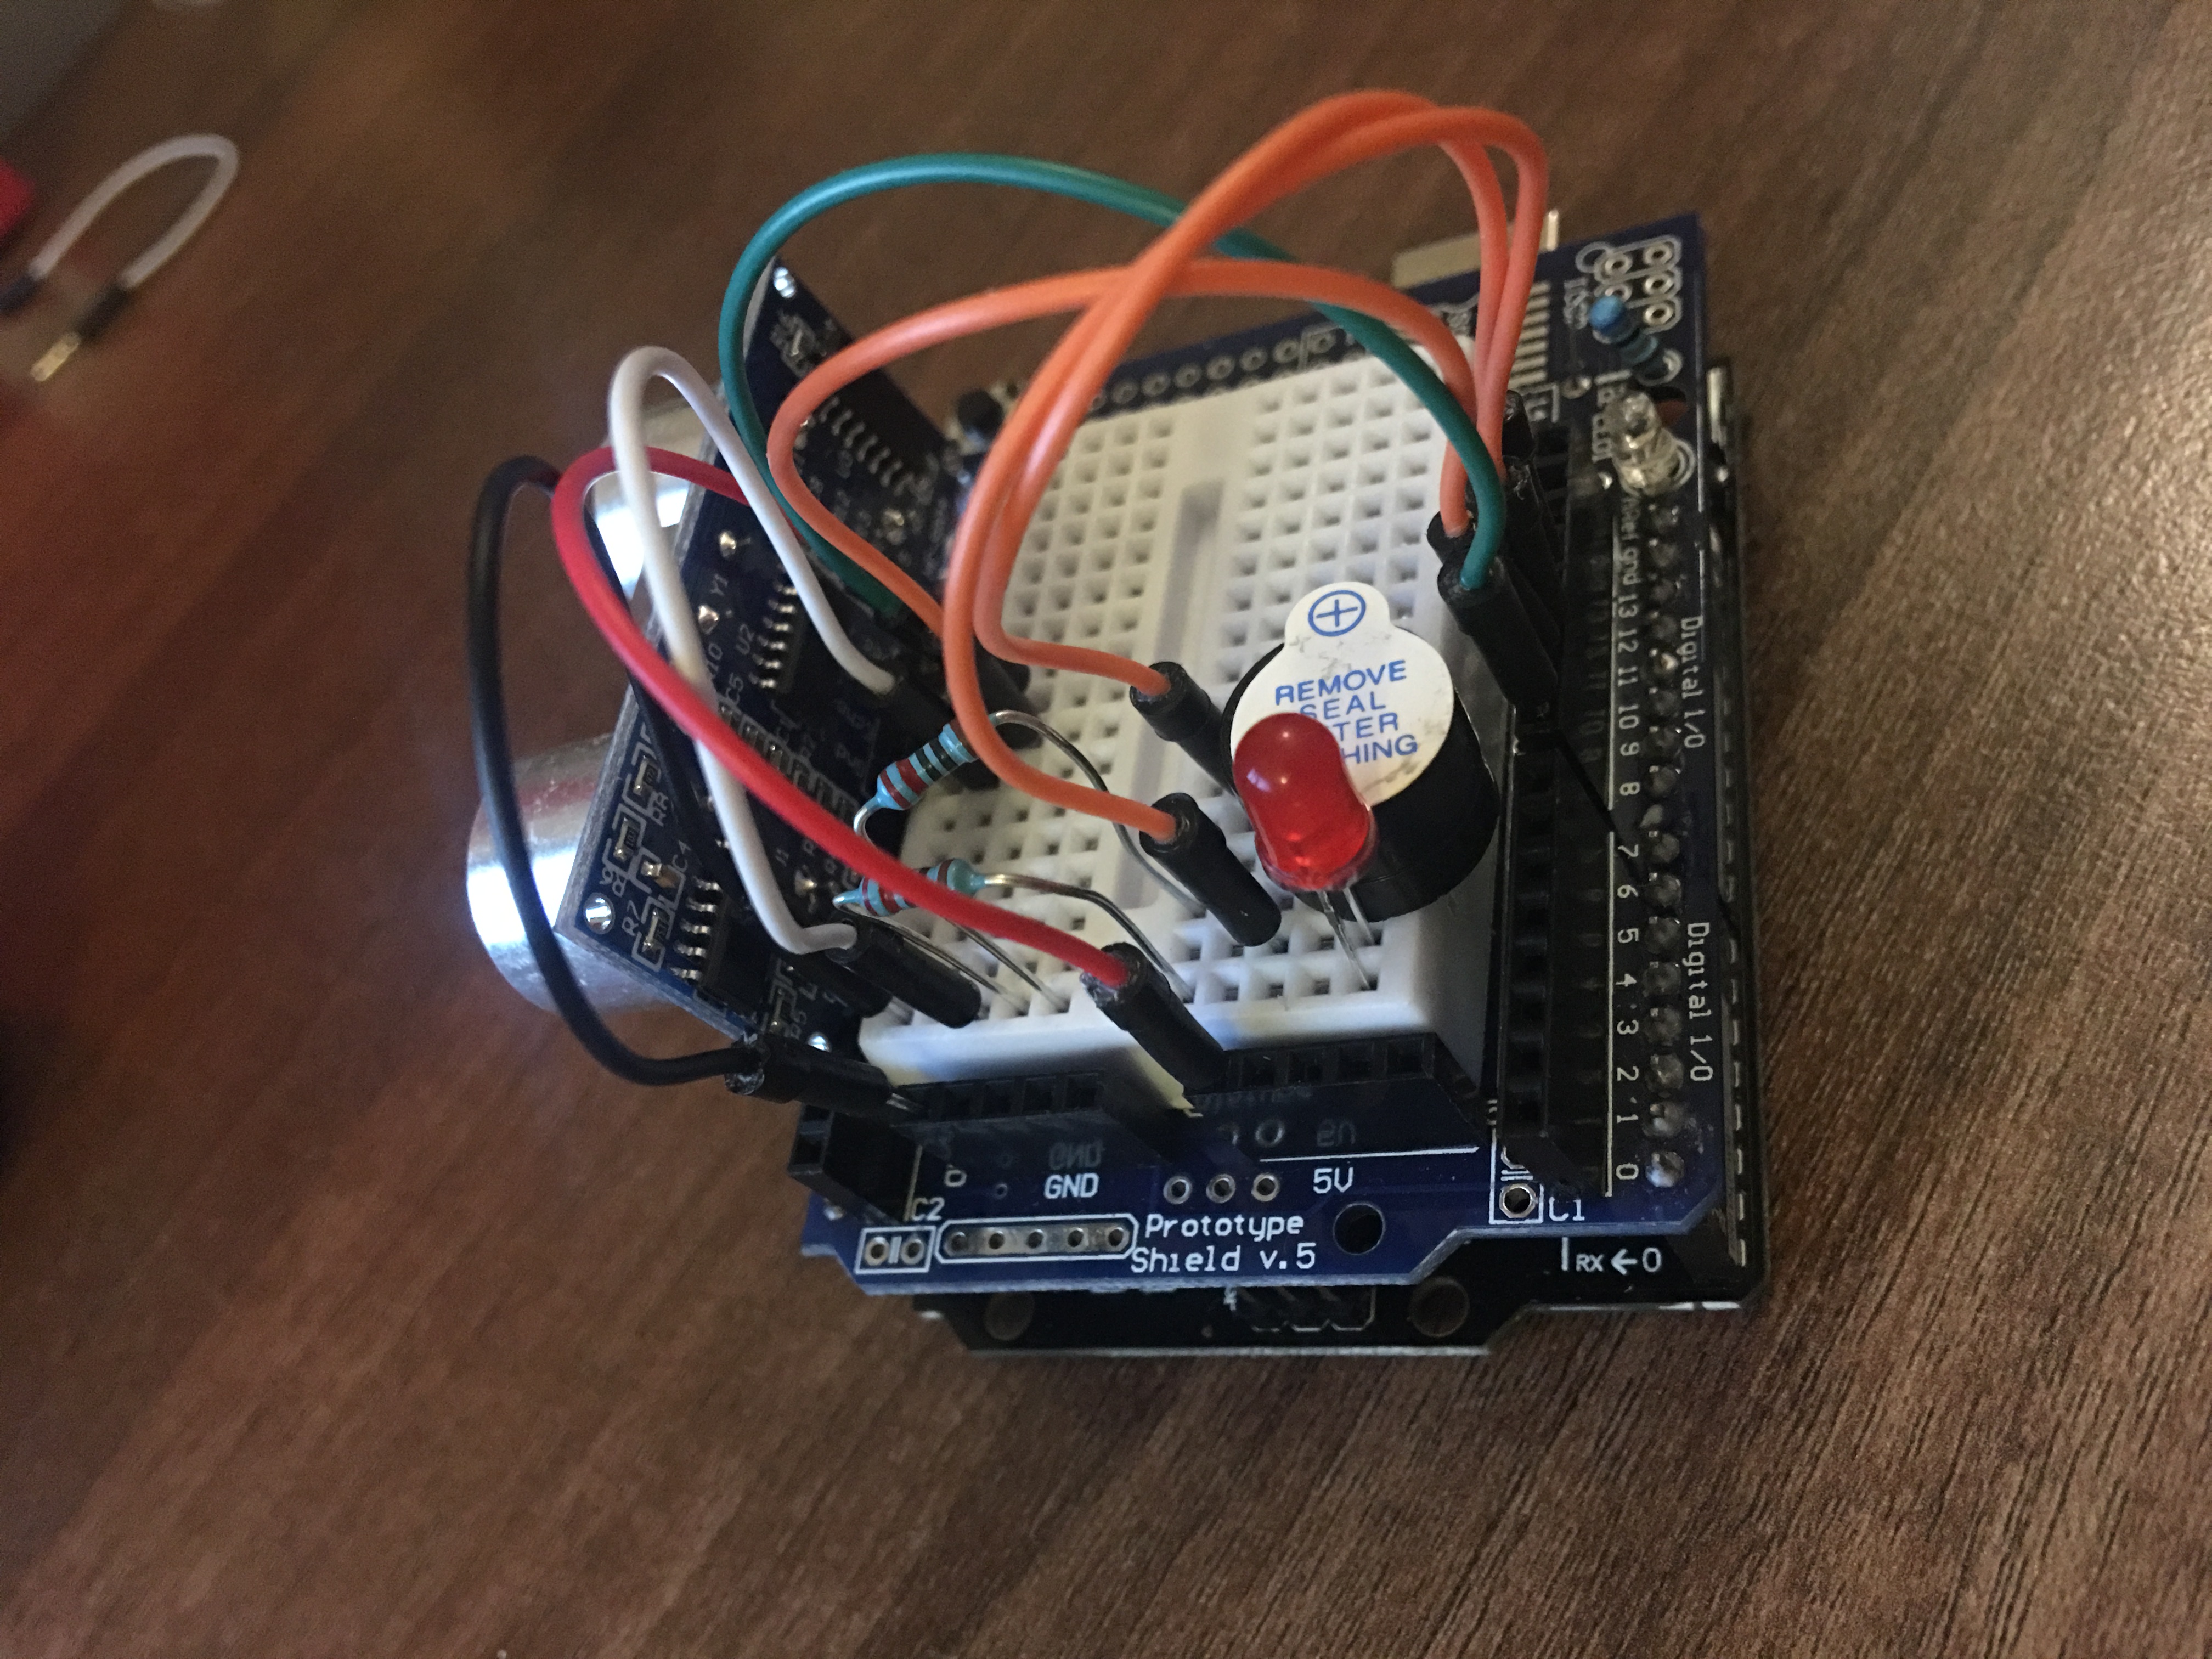
5 Upload the code and play it
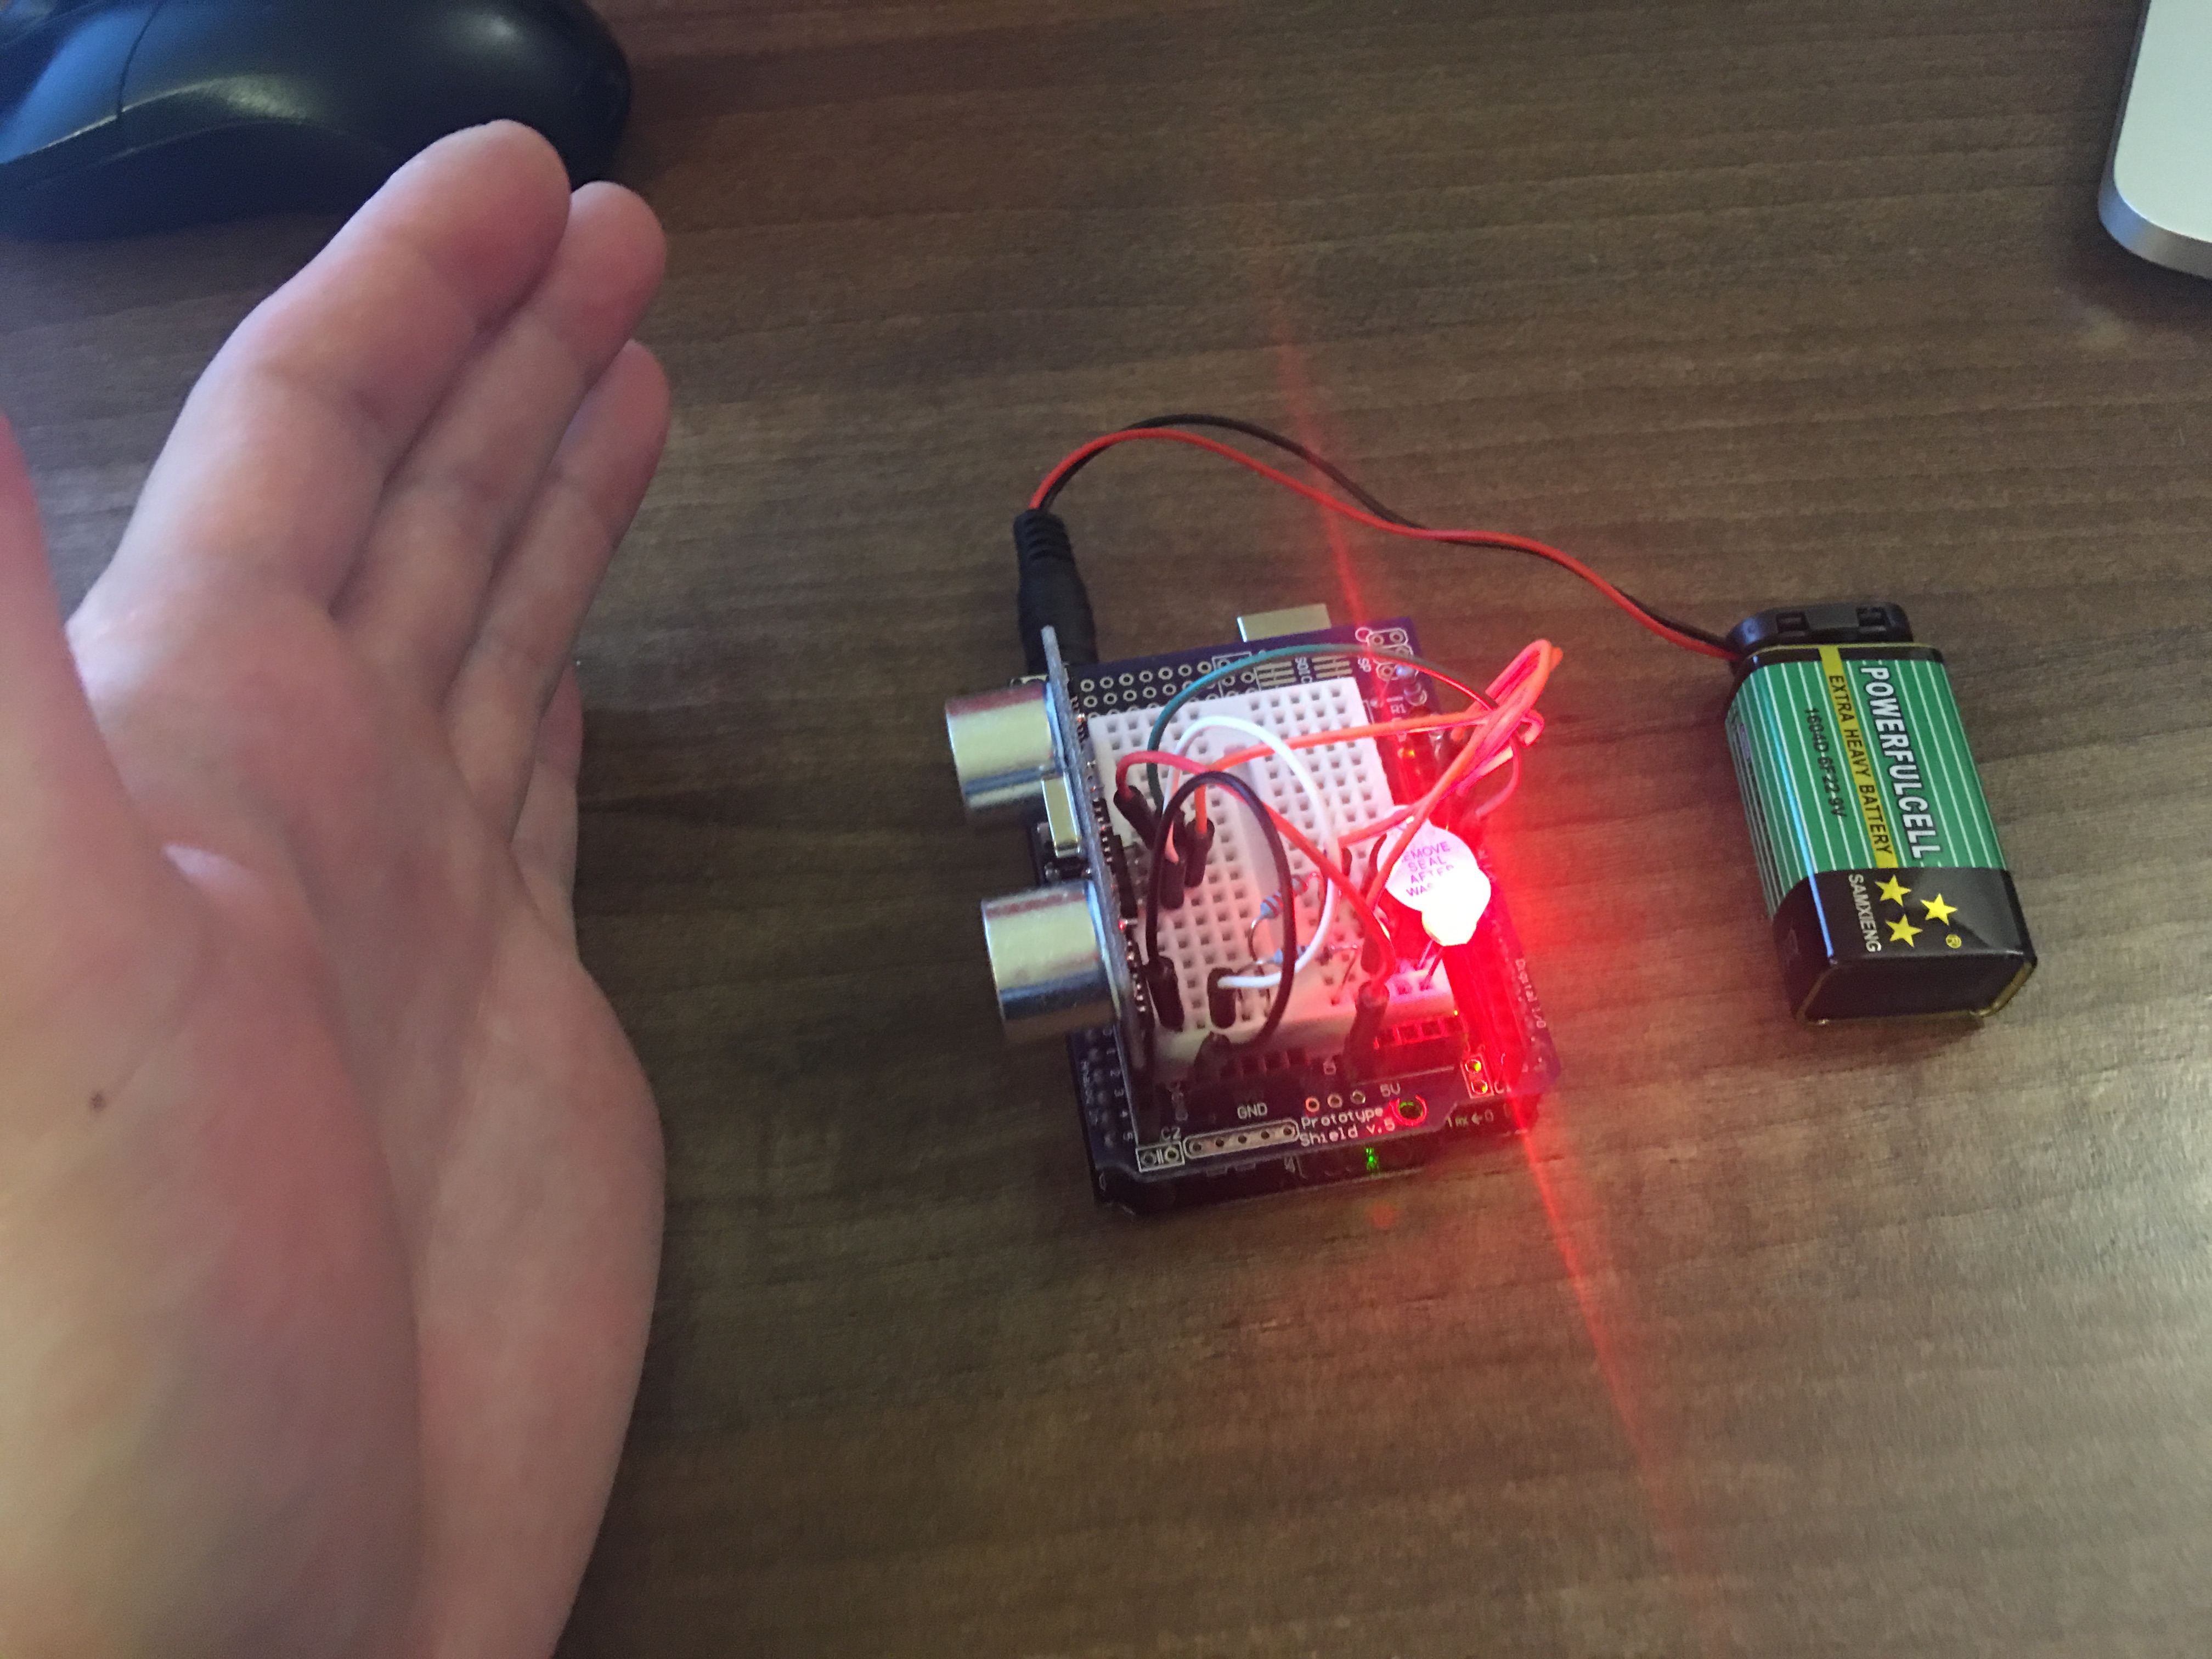
Conclusion
I knocked this project up in about half an hour (including my F*@JKNYWIT the code to get it working). Okay this wasn’t a huge step from my last project and I probably should have punched a little higher but overall I’m impressed how quickly this came together and am pretty impressed with what you can do so quickly with this tiny, tiny little open source board. Oh yes, one huge bomb drop last week I learned that my board (elegoo UNO) is actually a cheap Chinese copy of the official Arduino! But Arduino the hardware is open source (I could build an exact clone and that’s totally fine). This was the first I have ever seen of ‘Open Source Hardware’ and you will definitely be seeing more of this from me!

